Hiking with a camera opens up incredible opportunities to capture nature’s beauty, but it also adds extra challenges to your outdoor adventure. Balancing the demands of photography with the physical exertion of hiking requires extra attention to your personal safety. Whether you're an experienced hiker or just starting out, carrying camera gear can affect your balance, mobility, and overall hiking experience. This guide focuses on the safest ways to hike with a camera, ensuring that you stay safe and comfortable while exploring the great outdoors.
1. Choose the Right Gear for Comfort and Safety
Your safety on the trail starts with choosing the right gear. Hiking with a camera means you'll need to carry extra equipment, so making sure everything is securely and comfortably packed is essential for maintaining balance and reducing fatigue.
Backpacks and Harnesses for Stability
-
Hiking Backpacks: Choose a well-fitted backpack that distributes weight evenly across your shoulders and back. Look for backpacks that are designed for hiking, with chest and waist straps to help stabilize the load and reduce strain on your body. Make sure the backpack has room for hiking essentials like water, snacks, and a first aid kit.
-
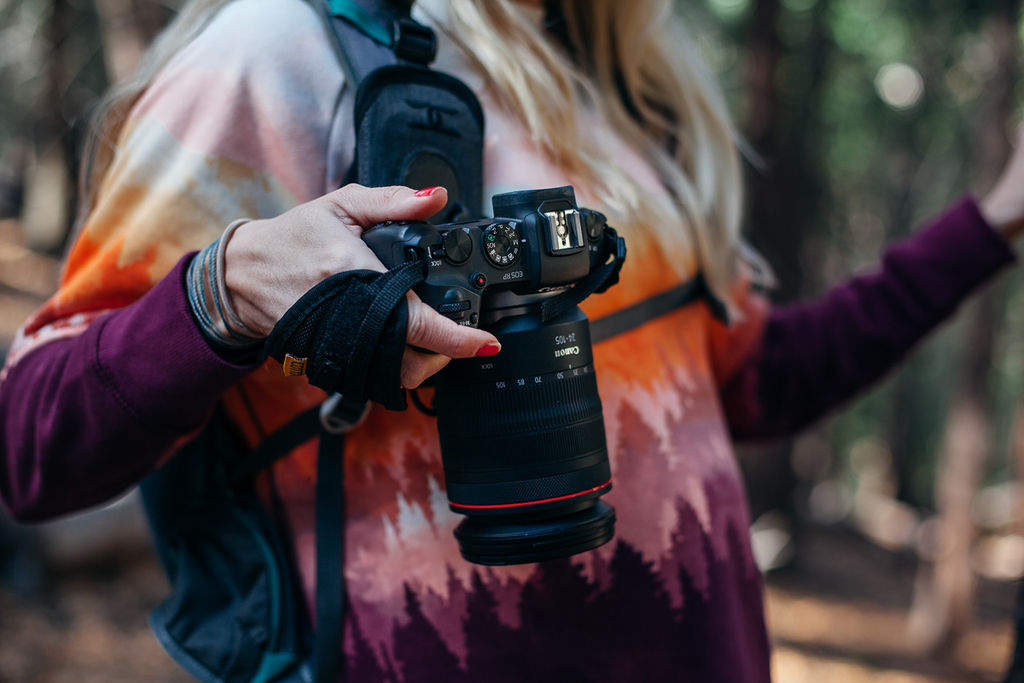
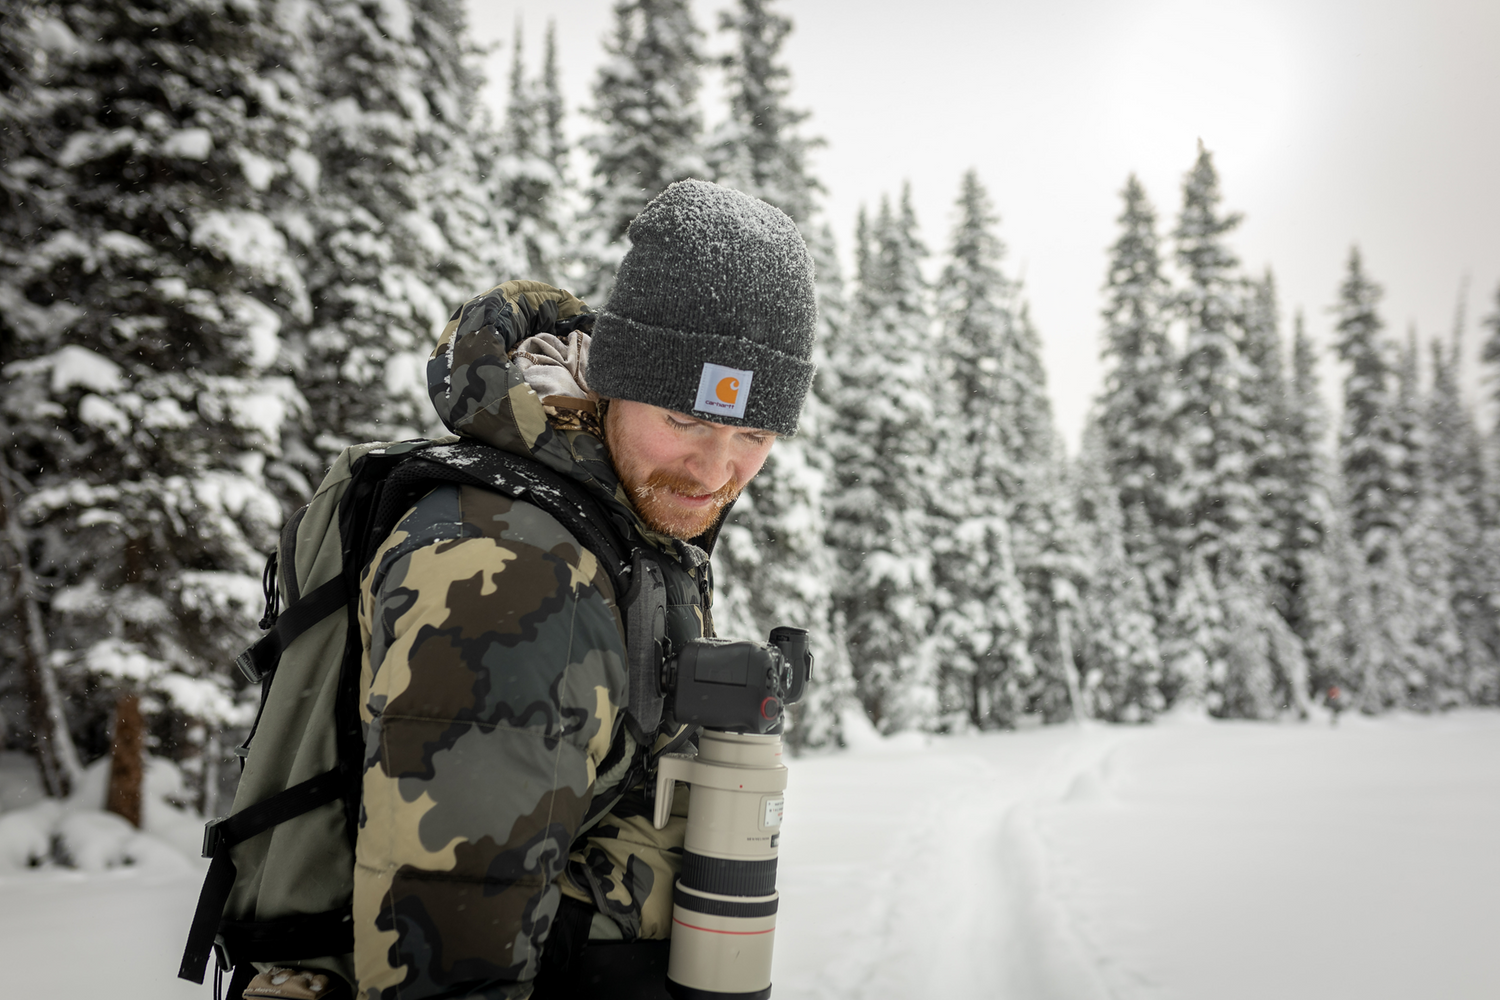
Camera Harnesses: A camera harness can be a game-changer for hikers. By keeping your camera securely strapped to your chest, a harness allows for hands-free movement and better balance. This is particularly useful on uneven terrain, where you may need your hands for stabilization or using trekking poles.
Pack Light for Easy Movement
While it can be tempting to bring along all your photography gear, overloading your pack can lead to fatigue and increase the risk of injury. Choose a camera body and one or two versatile lenses that cover a range of focal lengths, such as a zoom lens that can handle both wide-angle and telephoto shots. Limiting your load to the essentials will make your hike safer and more enjoyable.
Proper Footwear and Clothing
Your personal safety while hiking also depends on having the right footwear and clothing. Wear sturdy, comfortable hiking boots with good ankle support to help prevent injuries, especially when hiking on uneven terrain. Dress in layers to stay warm or cool depending on the conditions, and always pack extra clothing in case the weather changes suddenly.
2. Maintain Good Balance and Posture
Carrying a camera can affect your balance and posture, which is why it’s important to pay attention to how you move on the trail.
Hands-Free Hiking
Whenever possible, keep your hands free while hiking. This allows you to better balance on uneven terrain, use trekking poles for added stability, and catch yourself in case you slip. Using a camera harness or strap that keeps your gear secure but easily accessible can help you maintain better posture and balance.
Watch Your Step
When you're focused on capturing the perfect shot, it’s easy to forget about your footing. Always be aware of where you're stepping, especially when hiking on rocky or uneven ground. Pay attention to loose rocks, tree roots, and other obstacles that could cause you to trip or fall. If you're stopping to take a photo, make sure you're standing on stable ground before you start shooting.
Stay Balanced
Distributing weight evenly across your body is essential for maintaining balance while hiking. A well-fitted backpack with chest and waist straps helps keep your center of gravity stable, reducing the risk of falls. Avoid carrying all your gear on one side of your body, as this can throw off your balance and lead to muscle strain.
3. Know Your Limits and Pace Yourself
Hiking with a camera can make the trek more physically demanding, so it's important to know your limits and pace yourself accordingly.
Start Slow
If you're new to hiking with camera gear, start with shorter, easier hikes to get used to the extra weight. Gradually work your way up to more challenging hikes as your body becomes accustomed to carrying the load. This will help you build strength and endurance without putting yourself at risk for injury.
Take Frequent Breaks
Hiking with extra weight can tire you out faster, so be sure to take frequent breaks. Use these breaks to rest, hydrate, and check your gear. Taking regular breaks also gives you time to enjoy the scenery and assess your surroundings for potential photo opportunities. Remember, safety comes first—don't push yourself too hard, especially on strenuous hikes.
Stay Hydrated and Energized
Carrying extra gear can deplete your energy more quickly, so staying hydrated and fueled is essential for your safety. Pack plenty of water and energy-boosting snacks like trail mix, protein bars, or fruit. Dehydration and low energy can affect your focus and reaction times, which can be dangerous on the trail.
4. Be Aware of Your Surroundings
When you're focused on capturing that perfect shot, it’s easy to become distracted and lose awareness of your surroundings. Staying aware is key to staying safe while hiking with a camera.
Pay Attention to the Terrain
Keep an eye on the terrain ahead, especially when hiking in areas with steep inclines, loose rocks, or slippery surfaces. Be cautious around cliffs, rivers, and other potentially hazardous areas. If you need to get closer to the edge for a shot, always prioritize your safety over the photo. Set up your shot from a safe distance rather than risking a dangerous situation.
Watch the Weather
Weather conditions can change rapidly, especially in mountainous or remote areas. Keep an eye on the sky and check the forecast before your hike. If you notice dark clouds rolling in, it’s better to head back to safety than to risk getting caught in a storm. Always carry rain gear and extra layers, even if the forecast is clear, to be prepared for unexpected weather.
Respect Wildlife
When photographing wildlife, it’s important to keep a safe distance. Approaching animals too closely can be dangerous, both for you and the animals. Use a telephoto lens to get close-up shots from a distance, and always be respectful of the animals' space. Stay on designated trails and avoid disturbing wildlife or their habitats.
5. Prepare for Emergencies
Even the most well-planned hikes can encounter unexpected challenges, so being prepared for emergencies is essential.
Carry a First Aid Kit
Always carry a basic first aid kit in your backpack, with items like bandages, antiseptic wipes, and pain relievers. If you’re hiking in remote areas, consider packing a more comprehensive kit that includes supplies for treating blisters, sprains, and other common hiking injuries.
Bring Navigation Tools
Getting lost on a trail can be dangerous, especially if you're in a remote area without cell service. Bring a map, compass, or GPS device to help you navigate the trail safely. Always let someone know where you're going and when you expect to return, so they can raise the alarm if you don't check in.
Know Your Route
Before setting out, familiarize yourself with the trail, including any potential hazards like steep drop-offs, river crossings, or areas prone to rockfalls. Knowing what to expect will help you make better decisions and stay safe on your hike.
Hiking with a camera is an incredibly rewarding experience, but it comes with added challenges that require extra attention to personal safety. By choosing the right gear, maintaining good balance, pacing yourself, staying aware of your surroundings, and being prepared for emergencies, you can safely enjoy both the hike and the photography. Remember, your safety should always come first—no photo is worth risking your well-being. With the right precautions, you can have a safe and memorable hike while capturing stunning images of the natural world.


